Give A Little Bit – Supertramp

So you sit down with a lead sheet or a piece of music and it tells you the opening chords of this particular song are A major followed by D major. And so you go and play your standard A and D chords and get all disappointed because “it doesn’t sound like the record.” You can tell that you’re in the right key but you can also tell that it’s not quite right. Your problem is probably this: you may have the right chords, but you’re playing them in the wrong place on the fretboard.
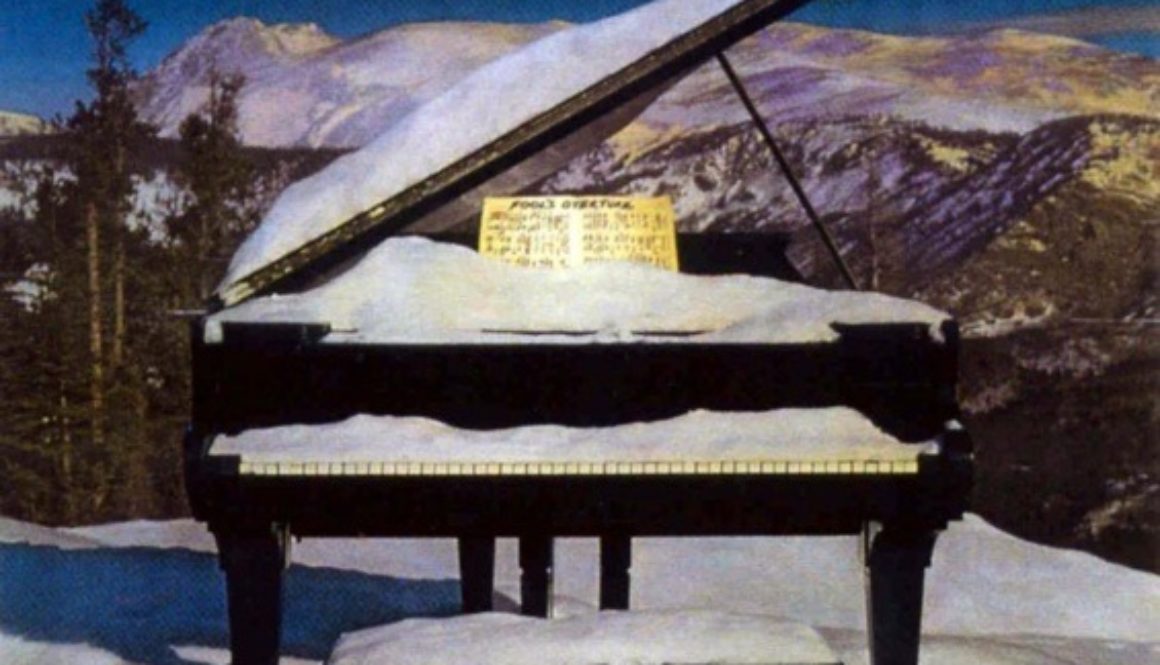
Give A Little Bit, the opening song on the Supertramp album Even In the Quietest Moments, demonstrates this concept. It involves the use of chord shapes to create different voicings for familiar chords.
And if you’d like, I’ll add the usual secondary disclaimer as well: No, this is NOT a note-for-note transcription from the recording. You’ll be able to tell that right from the opening measure since my rhythm is different than the original guitar part.
When I play solo, more often than not it is with a twelve-string acoustic guitar. So anything I can do to showcase the full warm tone of the twelve-string is welcome. I also tend to give myself lots of vocal cues whenever I can fit them into a pattern. So you’ll see both of these stylistic quirks in most of my lessons.
Give A Little Bit is in the key of D and is played at a moderate tempo in 4/4 time. The main rhythm chord pattern, established in the introduction, relies on these particular chord voicings:
If you were to chase this song down in TAB or sheet music, chances are that you’ll find this progression written out as A – D – A – D – G – A – G – A. These fingerings of the chords, though, give this song it’s signature sound. The A and G (G6/A) chords are, essentially, first position Fmaj7 chords moved up the neck. I tend to think of these as “E-shape” because I think of the F chord as an E-shape chord. The D ( Dadd9/A) is an A-shape on the seventh fret. You will notice, I’m sure, that both of these are slightly different from the E and A-shaped chords we studied in Moving On Up in that we are leaving the first (high E) string open throughout the changes. This, along with the open A string in the bass, is creating a drone, or a sustained tone that jazzes up the standard A, D and G chords. This use of partial chord shapes, whether for rhythm guitar (as we are doing here) or lead guitar, is an essential technique for the intermediate guitarist to learn.
One other thing I’d like to note here – and it may seem like a minor thing now, but it’s one of those little things that can save you a lot of grief later – is which fingers to use on which strings. When I am moving along the fretboard I try to find ways to change my fingering as little as possible. For me, the easiest way of doing this is to use my middle finger as an anchor. In other words, my middle finger will more often than not be on the same string. Here in the intro and the first part of the verses, it plays the G string. So on the A and G chords, my ring finger is on the D string notes while the index finger frets the proper note on the B string. When I switch from the A to the D, I simply pick up the ring finger to free up the D string and place it on the seventh fret of the B string:
As I said, this may seem obvious to a lot of you, but it becomes very important when we get to the coda.
My strumming pattern for this song is slightly different from that of the recording. I prefer to give it a triplet feel because I prefer the way it sounds. Here, though, are both rhythms:
You should feel free to play around with them. Who knows? You may very likely come up with something different that you prefer.
The first four lines of the verses are repetitions of this pattern. The progression is broken up at the fifth line, where the chords change to Bm, Em, E, G and finally A. I prefer using these chords:
This voicing of the Bm7 gives me a B note in the bass as well as an open B string. Since B is also the note of the melody at this point, playing this particular chord gives me a way to boost my voice. Likewise, the Emadd9, my voicings of the Em and even the E7 and the G (with the D on the third fret of the B string) support the song’s melody.
I also like to throw in a single F# note in the bass (second fret, sixth string), creating a walk from the E7 to the G. This is purely stylistic and it’s also fun.
When we reach the A, I use an A7 turnaround, much like the one we used in Babylon:
To give the turnaround some added punch, I hammer-on to the desired frets at the start of each chord change. Sliding from chord to chord sounds great as well. And here again we see the importance of finger placement. These changes will flow smoothly if you use your middle finger on the D string throughout. This way you can use your ring finger whenever the note on the B string is on the same fret as the one on the D string and use your index finger when the B string note is a fret away (as with the A7sus4add6).
After two verses we come to the bridge. Here we encounter a distinct shift in modulation, from D major to B minor. This new tonality is heralded by the F#7, which is the fifth in the new key. While you can play a full measure of either F# or F#7, I prefer to use both for melodic purposes. By starting with the open E string in the F#7, I can then climb to the F# (the full F# chord) and then do a little walk from the F# to E and then to D on the Bm chord. I play the Bm in its simplest first position form to make an easy and smooth transition from note to note:
Can you hear how the melody during the Bm follows the almost ad-lib “yeah yeah yeah” of the song? This is then echoed in the Gmaj7 voicing:
Then we go to an extended turnaround, which builds in intensity. All of this leads us to the final verse and we play it the same as the first two times up until we reach the point in the last line where we jump to the coda.
At the coda, we find that our voicing of the G chord helps in performing a quick shift to Cadd9 and back:
All we have to do is take our fingers from the fifth and sixth strings and move them to the same frets on the fourth and fifth strings. This is a chord progression used in far too many songs to list here. I’m certain you could provide numerous examples without breaking a sweat.
This short aberration of the normal verse is followed by an extended turnaround sequence, which in turn leads to the final set of chord progressions. For simplicity, I’ve cut the progression into two parts. The first group starts with our Dadd9/A and moves up the neck and then back:
Here we are again using partial chord shapes. Going up we have a partial A-shape for the initial D chord as well as the G6/A at the twelfth fret. The Em7/A is also a partial A-shaped chord but it is in its minor form. The second Dadd9/A (on the 10th and 11th frets) is a partial E-shape. You might notice that there is no difference in these particular partial chords between the A minor and E major shapes. Why not call the Em7/A a partial E shape at the eighth fret? This is an important point that we will be addressing next month on the Guitar Columns page. So please don’t think I’m shirking the issue!
Back to the song at hand. If you remember to keep your middle finger on the G string, this isn’t anywhere near as hard as you think. In fact, you’ll be surprised at how quickly you’ll pick it up, even the shift from the G to the D (on the 10th and 11th frets) and back to the original Dadd9/A.
The second set goes down the neck:
More partial A and E chords here and we end on a first position Dadd9/A, which we could say is a partial D-shaped chord, could we not?
Now, after telling you on and on about the middle finger on the G string, I have to admit that here, on the first position Dadd9, I go back to playing it as I would a regular D chord (index finger on the G string, ring finger on the B). Perhaps it’s habit, I don’t know, but I can’t seem to do it quicker any other way.
I think that this about covers it. Oh yes, the final D chord is a classical guitar style A with the root added to the first string. It’s the same chord we used to end Love the One You’re With. So, without further adieu, here’s the finished arrangement:
I hope that you’ve enjoyed this lesson and have fun with this song. I also hope that you find all sorts of ways of incorporating these chord voicings and other ideas into your own playing. Don’t ever feel that any song has to be played in one particular way. It is your imagination that brings about your individual style.
As always, please feel free to write in with any questions, comments, concerns or topics you’d like to see discussed in future columns. You can either drop off a note at the Guitar Forums or email me directly at [email protected].
Until next time (and always)…
Peace
On February 11, 2010 we received a letter from lawyers representing the NMPA and the MPA instructing us to remove guitar tab and lyrics from this page. You can read more about their complaint here. Alternatively, you can still find this complete article with tab and lyrics archived here.


